For a while, I have been dreaming of an easier way to store and use my screen-printing frames. Therefore, I came up with an experimental idea for a screen-printing frame that doesn’t have a permanent mesh attached to it, but rather the option to attach and detach as many different mesh screens as possible.
All the electric drills (two of them) suddenly retired and stopped turning. I feel very lucky to have gotten my hands on a couple of beautiful antique manual drills instead. They require quite a bit of elbow grease and take much longer, but I enjoyed and romanticised this slow and steady process.
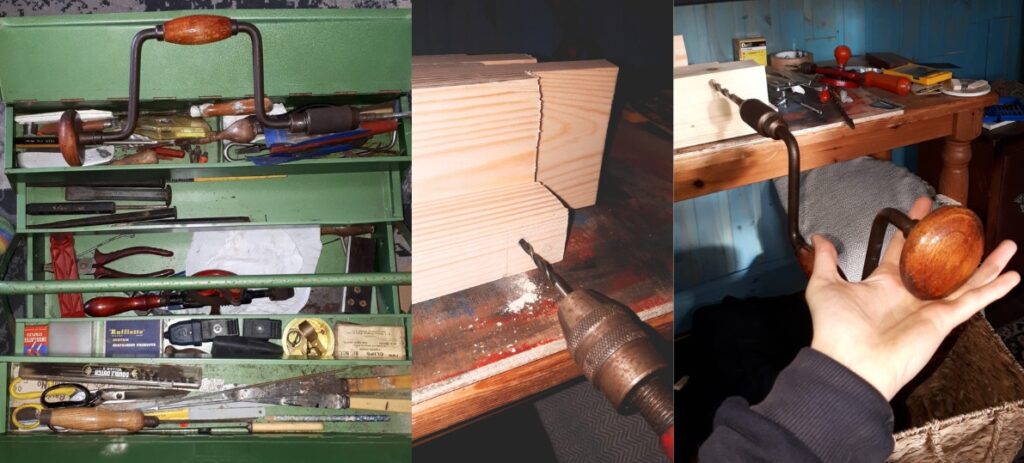 I believe these tools are many decades old!
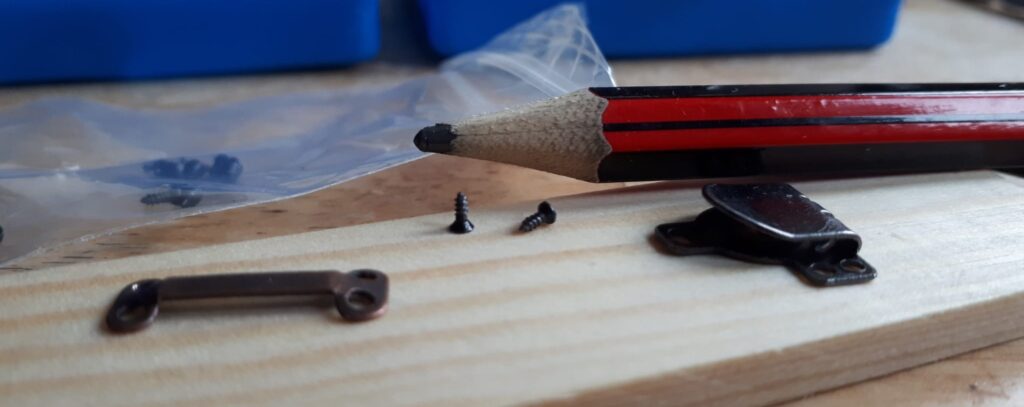 I used the TINIEST screws that I’ve ever seen.
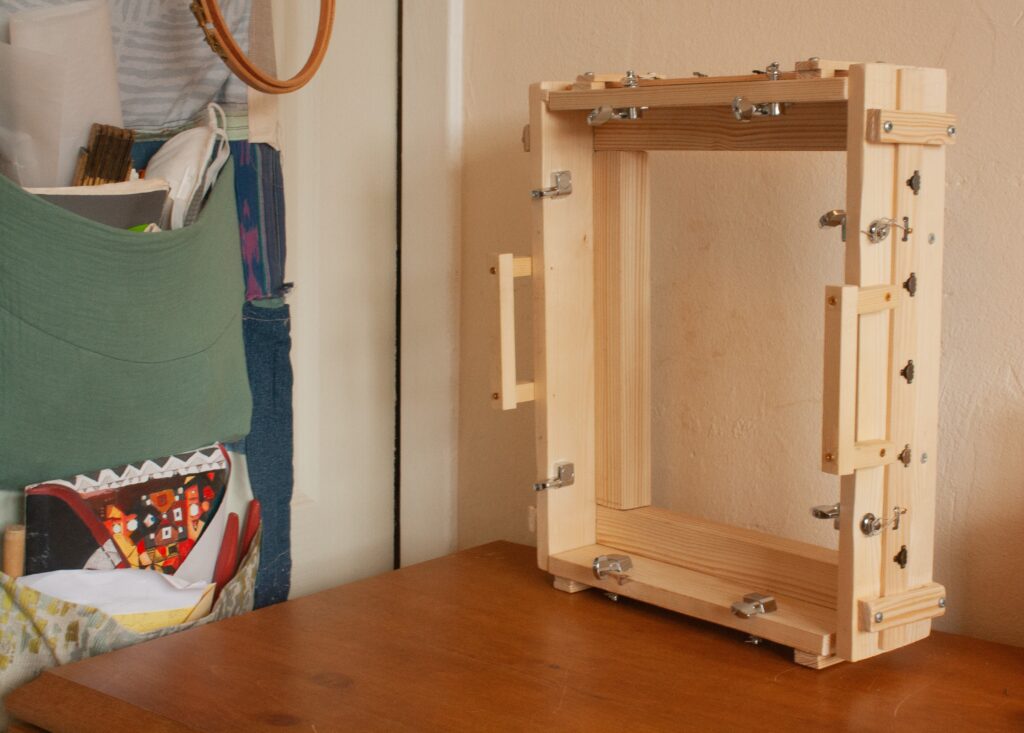
I’m mostly excited about my solution for stretching and un-stretching the mesh screens: tuning pegs! They’re second-hand, and I hope I can give them another interesting life. After some thinking and online surfing, I decided to use trouser hooks to attach the screen mesh and the guitar strings. I know I have unorthodox uses for some items, but my brain is happy to have solved problems.
 The strings are attached (generously donated).
This project took me at least 5 months (also because I was busy otherwise). It involved a lot of woodworking, which I loved! I’m glad it didn’t become just a prototype, but the actual tool. I finished the frame by adding handles for my convenience:
 Et voilà!
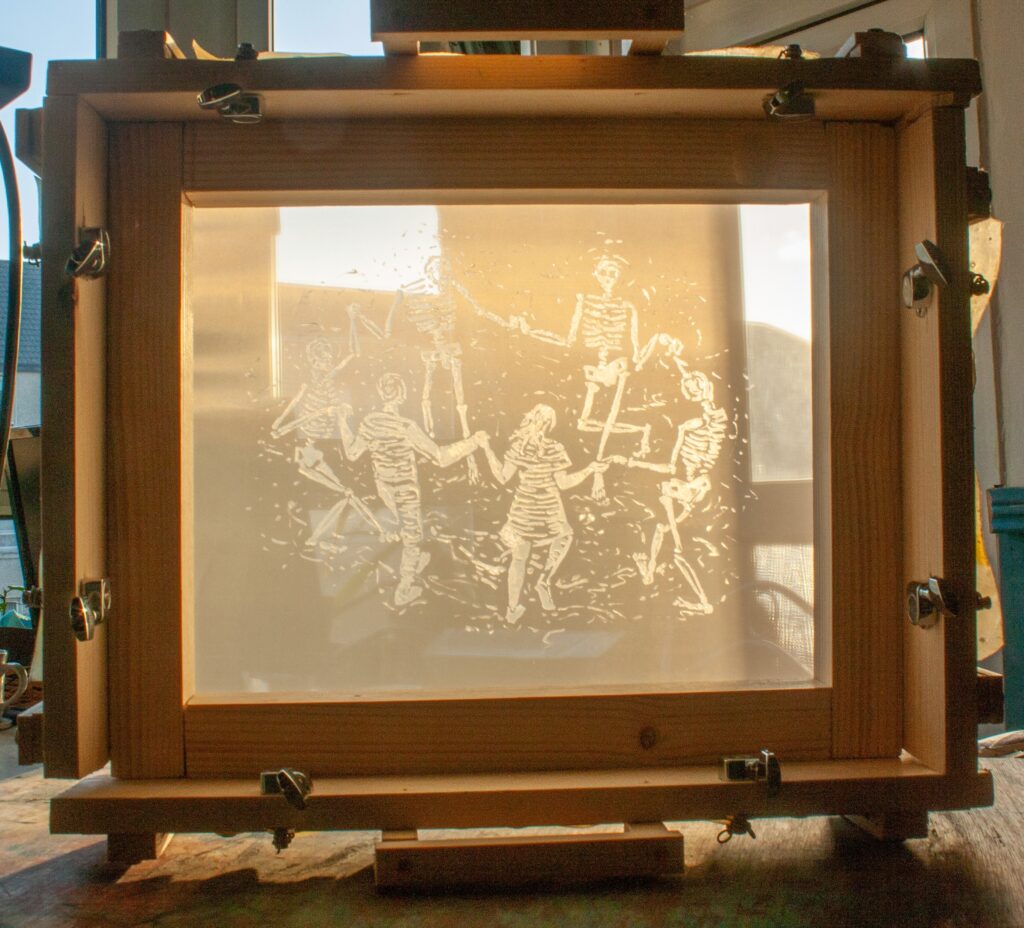 Dancing with skeletons = cold hands
I’m very excited to have painted my first image on the mesh and will hopefully do a print soon! The tension of the screen feels alright, but of course, time will tell. I wanted to use a long-lasting paint/ screen-block medium that isn’t plastic, so at the end of my research, I came up with the idea of using liquid natural latex. It worked well, but it smells pretty strong when in its liquid form! The liquid is a rubber tree’s sap obtained through tapping the tree (a regenerative method).
Okay, bye for now!